
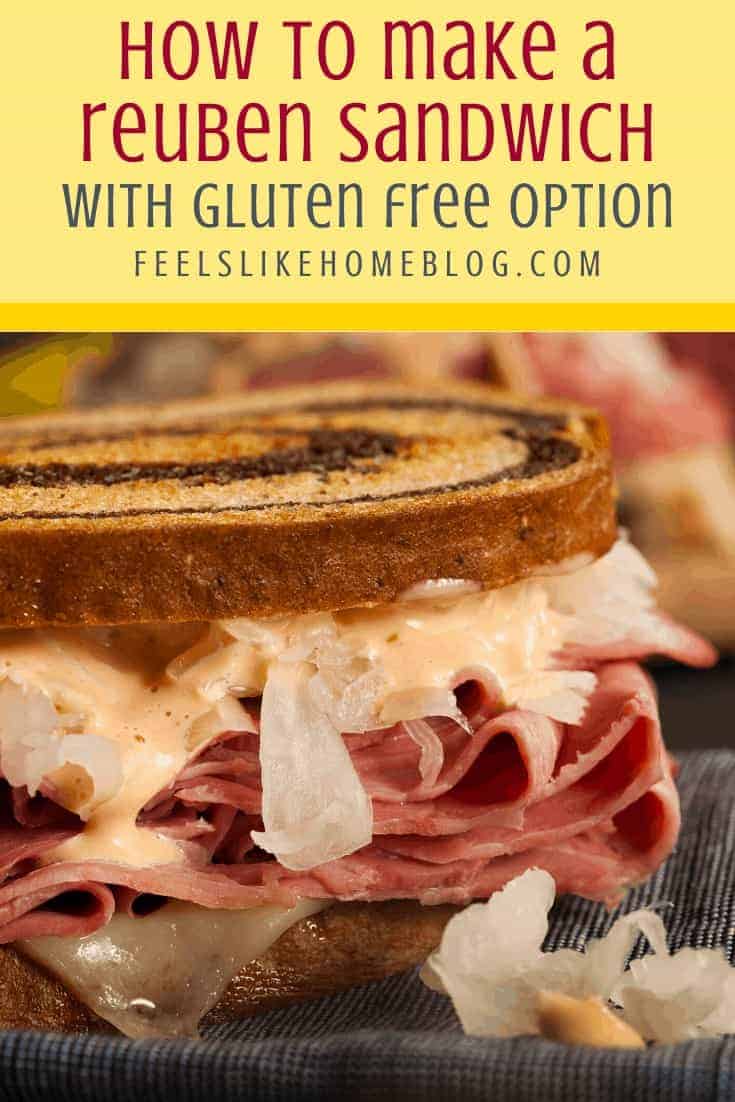
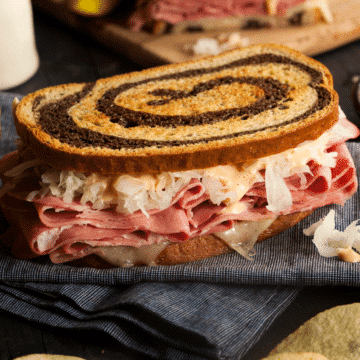
This Reuben sandwich is filled with corned beef, sauerkraut, and lots of cheese on rye or pumpernickel bread. It's a great way to use up leftover corned beef from St. Patrick's Day!

When I was a kid, my mom made Potato Pancake Reuben Sandwiches. I don't know how she made the potato pancakes, but we always had potato pancakes instead of bread in our reubens. I remember eating them often; they're a favorite of both my sisters, too.
After helping her father to prepare reubens one day last week, Grace came downstairs and announced, "I can just taste that reuben sandwich in my belly! I LOVE reuben sandwiches!"
I was delighted, especially since she's grown quite picky in her old age.
Approximately ¼ of Grace's reuben sandwich ended up in her belly, which is a decent amount for her bird-like appetite.
Allie picked the guts of out her reuben, leaving her bread uneaten, but made up for it by eating part of my corned beef.
What's on a classic Reuben sandwich?
A classic Reuben has just a few key ingredients, so go for the best that you can afford. Quality matters!
- Rye bread - Marble rye is always nice because it looks fancy, but pumpernickel is just as good.
- Corned beef - You can use leftover corned beef from St. Patrick's Day or from a corned beef roast. You can also buy sliced corned beef in the deli (this is a good option and the one we use most often). Finally, you can buy canned corned beef. This is what my mom used for years and years and years, and it is serviceable if not the preferred method.
- Swiss cheese
- Sauerkraut - You must have sauerkraut or you aren't making a reuben. The end. Just put it on.
- Thousand Island salad dressing - You can also use Russian salad dressing or you can make your own by combining ½ cup mayonnaise, 2 tablespoons of ketchup, 2 tablespoons of sweet pickle relish, ¼ teaspoon onion powder, and a dash of Worcestershire sauce.
- Butter - You only need this if you are making your sandwich grilled cheese style which is better than my way but beyond my grasp.
How to Make It
- Toast the bread. Classic reuben sandwiches are made with rye or pumpernickel bread, and those are the best options in my opinion. However, if you are gluten-free, there aren't many options in either variety, so use whatever bread you have on hand.
As I write in the recipe notes below, I think this sandwich would probably taste the best with the bread toasted lightly on a griddle with some butter. However, I am incapable of making a grilled cheese sandwich without burning it, so I do not trust my griddle-toasting abilities. I put the bread in the toaster. - Heat the corned beef. If you are using canned corn beef, as we used to do, dump it out into a skillet, break it up in little pieces, and brown over medium heat. If you're using sliced corned beef (as leftovers from St. Patrick's Day or because you purchased it sliced), lightly brown each slice in a skillet over medium heat.
- Assemble the sandwich. Start with a piece of toasted bread, then add a a couple of slices or corned beef (or a scoop if canned), a scoop of sauerkraut, a slice of Swiss cheese, and a dollop of Thousand Island salad dressing. Top with a second piece of toasted bread.
- Melt the cheese. Again, this would be easier if you made the sandwich like a grilled cheese, but I don't, so I put my finished sandwich in the microwave for 30 seconds to heat the sauerkraut and melt the cheese. It comes out perfect.
Recipe
How to Make a Classic Reuben Sandwiches (With Gluten Free Option)
Ingredients
- 8 slices bread You can use gluten-free bread or any regular rye or pumpernickel bread.
- 1 pound corned beef
- 1 pound sauerkraut
- 4 slices Swiss cheese
- ½ cup Thousand Island salad dressing (if you're gluten-free, check the label)
Instructions
- Toast the bread.
- Lightly brown each slice of corned beef in a skillet. It’s already cooked, so you’re really just heating it up and toasting it a bit on each side.
- Assemble the sandwich - a piece of toasted bread, a couple of slices of corned beef, a healthy scoop of sauerkraut, a slice of Swiss cheese, a healthy squirt of Thousand Island dressing, and the other piece of toasted bread (although Joe and I have lately been eating our Reuben sandwiches open-faced, because they have fewer calories that way).
- Pop the sandwich in the microwave for 30-45 seconds or until the sauerkraut is heated and the cheese is melty.


Carol says
Thank you so much for sharing this recipe. I've missed Ruben sandwiches since going gluten free. You have given me hope! 🙂
Tara Ziegmont says
Yes! We've never been able to figure out potato pancakes, but everyone says they're easy to make with mashed potatoes. Udi's gluten-free bread, though - quick and easy!
Heather Smylie says
Love to make reubens but this will be my first meal with canned corned beef but it was so much cheaper so we are giving it a whirl! Having my reuben on rye bread is a must for me and toasting with real it is delicious. Recently started rinsing the canned sour kraut in a strainer and the sandwiches are not sour.
Tara Ziegmont says
How did you like the canned corned beef?
Troy Quick says
I have to agree with Joe. Canned corned beef sounds like a ghetto rueben
Tara Ziegmont says
That made me laugh out loud. I'll tell him you said so.